Moving to the UK
You’ve got indefinite leave to remain (ILR) and next is finalising British citizenship and getting the passport. “You alright?” will officially be your new greeting once this is done. What you want to know is the day you can apply, what it costs now, who these two referees have to be and what they want in the envelope.
I applied in August 2019, a year after my ILR came through on the Ancestry visa. Sixteen days after my biometrics appointment the approval letter was in my hand. Two months after that I was in the council chamber in Bromley making the affirmation and by November I had a British passport.
Mine was the Ancestry route. If you’ve come through a work visa, a partner visa or settled status, the shape is the same: five years here, a year on ILR, the test, two referees, the fee. The detail for your route is different and I’ve linked the official guide wherever I’ve used it.
Here’s what I’ll take you through, in order:
- the day you can apply and the absence limits that decide it
- what it costs all in and the one way to pay for a faster answer
- the two referees, who they have to be and who mine were
- every document, in one list, with what I sent next to what they ask for
- the ceremony, the certificate and the passport afterwards, with what my day looked like
Fact check · 7 September 2026
I’m not an immigration adviser. This is one Australian’s naturalisation in 2019, with the current rules and fees checked at gov.uk on 7 September 2026. I did it a while ago and the process changes a lot, so my run is here to show you what it looked like for one person, next to what the rules say today. Here’s my story and here’s the information. You make your own informed decision: read the guide for your route on the day you apply, or speak to an immigration adviser.
Covers | Naturalising after a year on ILR, which is what I did from the Ancestry visa. The core steps hold on the other routes; the detail differs. |
Have up front | £1,839 for the application, which includes the ceremony. £500 more if you want the faster decision. £102 for the passport afterwards. |
Do first | Count your days outside the UK against the limits. Then ask your two referees. |
Works for | You, if you’ve had ILR for a year or nearly and want to know exactly what to gather and what the day at the end looks like. |
The day you can apply
Twelve months after you got ILR, as long as you’ve lived in the UK for five years and you were physically here on the day five years before your application lands. If you’re married to a British citizen you don’t wait the twelve months and it’s three years, not five. Both are on the gov.uk page for citizenship after ILR and the one for the spouse route.
Then the absences. This is the bit that decides it for most people, because the limits are tighter than the ones you met for ILR.
Your route | Years in the UK | Days outside the UK, in total | Days outside in the last 12 months |
|---|---|---|---|
On ILR, not married to a British citizen | 5, plus 12 months holding ILR | 450 | 90 |
Married to a British citizen | 3, no wait on ILR | 270 | 90 |
Only whole days count. The day you leave and the day you come back don’t, so a Friday-to-Sunday weekend away is one day, not three. That’s in the naturalisation guide and it’s the thing to know before you panic about your total.
Mine. ILR on 14 August 2018. Application submitted 19 August 2019 at five past one, so a year and five days. The five years count back from the day your application lands, so for me that meant being in the UK on 19 August 2014. I’d landed in October 2013, so that was covered.
The absences list was the spreadsheet I’d built for ILR with a year added on and my fingers did get a little sore entering every holiday. Start yours now, not the week before. If you’re Australian you can request your travel records from Home Affairs instead of rebuilding five years from memory. I didn’t know it existed at the time.
What it costs, all in
What | Cost | Source |
|---|---|---|
The application, per person | £1,709 | |
The ceremony, paid up front with the application | £130 | same fee table |
Biometrics | no fee | |
Priority service, decision usually within 30 working days | £500 on top | |
Standard service | no extra charge, usually a decision within 6 months | |
Life in the UK test, if you haven’t passed it already | £50 | |
Your first British passport, afterwards | £102 online, £115.50 on paper |
That’s £1,839 to apply, £2,339 if you pay for the faster answer and about £1,940 by the time the passport lands without it.
There’s no super priority for citizenship. Priority is the only faster option and it’s thirty working days, not five, so don’t budget on the ILR timings.
What I paid. £1,349.20 in August 2019: £1,330 for the application and £19.20 for biometrics. There was no faster service for citizenship then, so standard was the only service. The total has gone up by about five hundred pounds since my run and the ceremony fee is now folded into it.
How long mine took. Sixteen days. Biometrics on Monday 2 September 2019, letter in my hand on 18 September. Everyone’s timeline is different and gov.uk still says usually within six months with some taking longer, so I count mine as luck, not the rule.
What you need before you start
Three things have to be done before the form is worth opening.
- The Life in the UK test. £50, booked at least three days ahead, the name on the booking matching your ID exactly. If you passed it for ILR you don’t sit it again. I’d sat mine for ILR the year before and just entered the pass, which I was thankful for, because that test was the most stressful part of ILR. Don’t leave it late: the pass is valid for a long time and a fail can cost you your application window.
- English. As an Australian you’re exempt: your passport is the proof. Same for New Zealanders, Canadians and the rest of the majority English-speaking list. Anyone else needs an approved qualification or a degree taught in English.
- Two referees. Next section, because it’s the bit people ask me about most.
And good character, which you can’t prepare for. The naturalisation guide sums it up as observing the law and respecting the rights and freedoms of its citizens. Convictions, money trouble, deception and immigration breaches are what they look at. If any of that is in your history, that’s the point to talk to an adviser, not a blog.
The two referees
Two people who’ve each known you for at least three years and will sign a form saying you’re who you say you are.
- One can be any nationality but has to be a professional person, an accountant or a solicitor for example.
- The other must hold a British passport and be either a professional person or over 25.
- Neither can be related to you or to each other, be your solicitor or agent, work for the Home Office or have an imprisonable conviction in the last ten years.
All of that is in the naturalisation guide. If you’re not sure your person counts as a professional, ask UK Visas and Immigration before you rely on them.
Mine, in 2019, were a lawyer and an accountant, both friends, both easily on the professional list. Finding them wasn’t the struggle. Finding the form was. I looked for the referee declaration for ages before I worked out that, in 2019 at least, it was only handed to you in the step after the documents page. Look there before you start hunting the internet for it.
What the online form wants from each referee, so you can ask them for it in one message:
- full name and date of birth
- every address they’ve had in the last three years
- profession
- phone number and email
- British passport number, for the one who has one
- how they know you
They each fill in the declaration themselves, sign it and give you a passport photo. The form told me to write my name and date of birth on the back of the photo. I was uploading everything, so I uploaded the signed form with the photo and that was accepted.
Every document, in one list
Two columns. What the checklist asked for and what I sent in 2019. The online form builds the exact list for your case at the end and it’s different if you’re applying through marriage.
What they want | What I sent in 2019 |
|---|---|
Your current passport | My Australian passport |
Proof of English | The same passport. Australians are exempt |
Proof you’re free of immigration time restrictions | My passport, the ILR approval letter and my biometric residence permit (BRP) card. The cards have all expired now and your ILR lives in your UK Visas and Immigration (UKVI) account as an eVisa |
Life in the UK pass | The pass from my ILR run, entered into the form |
Proof you’ve lived here for the five years | Both my passports with the stamps, plus the same working evidence I’d used for ILR: my P60s, the HM Revenue and Customs (HMRC) employment history letter and two employer letters. The checklist said bank statements and household bills don’t count and I still get asked about that, so check the guide for your route before you print your bills |
Two referee declarations | Both signed forms, each with a passport photo |
Evidence of identity | My old passport, the one I’d used as ID for the Life in the UK test, plus my current one |
Where my experience stops. I’ve never had an eVisa. I became a citizen before they existed, so I can point you at the UKVI account page and I can’t tell you what that step looks like from the inside.
The working evidence is the same method as ILR, a year on. Either ring HMRC again and ask for five years of employment history in a letter, or take what you sent for ILR and add the newer evidence on top, the P60 and the employer letter for the year since.
The HMRC letter is the same one they send if you’ve lost a P60, so if you’ve got gaps, do it early. Mine took about a week to arrive.
Originals or copies. In 2019 copies were fine for everything except passports, which had to be originals. You either uploaded to the appointment service, UK Visa and Citizenship Application Services (UKVCAS), yourself or paid to have them scanned at the appointment. The naturalisation guide now says you don’t have to resend anything you uploaded for a previous application, because they already have it. If you did ILR online, that’s most of your pile.
Before you open the form, have these to hand, because the form asks for all of it and digging through the drawer every time a long question pops up is what turns it into a whole evening:
- your addresses for the last five years, with dates
- National Insurance number and the tax reference off a recent payslip
- your parents’ names, dates and places of birth
- ten years of UK work history, with start and end dates and employer addresses
- your ILR application: the date, the reference number, the date of your fingerprints
- every trip outside the UK in the five years, with country, reason and dates
- degree details if you have one
- the referee details above
The form, the payment and the appointment
The application is online and it’s received the day you submit it. The form itself is simple once the pile above is next to you. In 2019 the payment page warned me in bold that once I paid there was no going back. After paying you book a biometrics appointment for your fingerprints and photo, which costs nothing now.
Mine. Submitted Monday 19 August 2019 at five past one. Biometrics on Monday 2 September. Letter on 18 September. I did the whole thing myself, uploaded the documents to the UKVCAS portal and it was, honestly, straightforward.
You can still travel while you wait. My sister did, in 2022. Her approval email landed while we were flying to Gdańsk and she didn’t see it for two months. Check your inbox from the airport.
The letter
The approval comes as a letter and it’s also your ceremony invitation. It tells you your application’s approved, how to get your certificate and how to book. Read the whole thing, because it also says you have to bring it with you on the day or the ceremony’s postponed and they may ask for ID as well, which they did for mine.
You have three months from the invitation to attend. You book through your local council and the ceremony’s already paid for in your application fee. Getting the council slot was the longest wait in my whole run, longer than the decision itself, so ring them the day the letter lands.
Booking mine, on the phone to Bromley, they asked four things:
- Group or individual. The group ceremony is free. An individual one costs and I was quoted either £160 or £180 in 2019, so I waited for the next group slot, which at Bromley was every Tuesday at ten. The price and the slots are your council’s, so it depends where you live. gov.uk still says a private ceremony can cost more.
- How many guests. Two is the usual limit. I asked for two.
- Oath or affirmation. The oath is sworn by God, the affirmation isn’t. I’m not very religious, so I took the affirmation. Either is fine and the pledge that follows is the same for everyone. In Wales they also ask English or Welsh.
- Whether I was happy to shake hands with the Mayor. Say now if you’re not.
A week before, the council emailed the details again with a map and the photographer’s price list.
The ceremony
Thirty to forty-five minutes. Smart dress. Two guests. Then tea, coffee and a queue for the photos that took longer than the ceremony did.
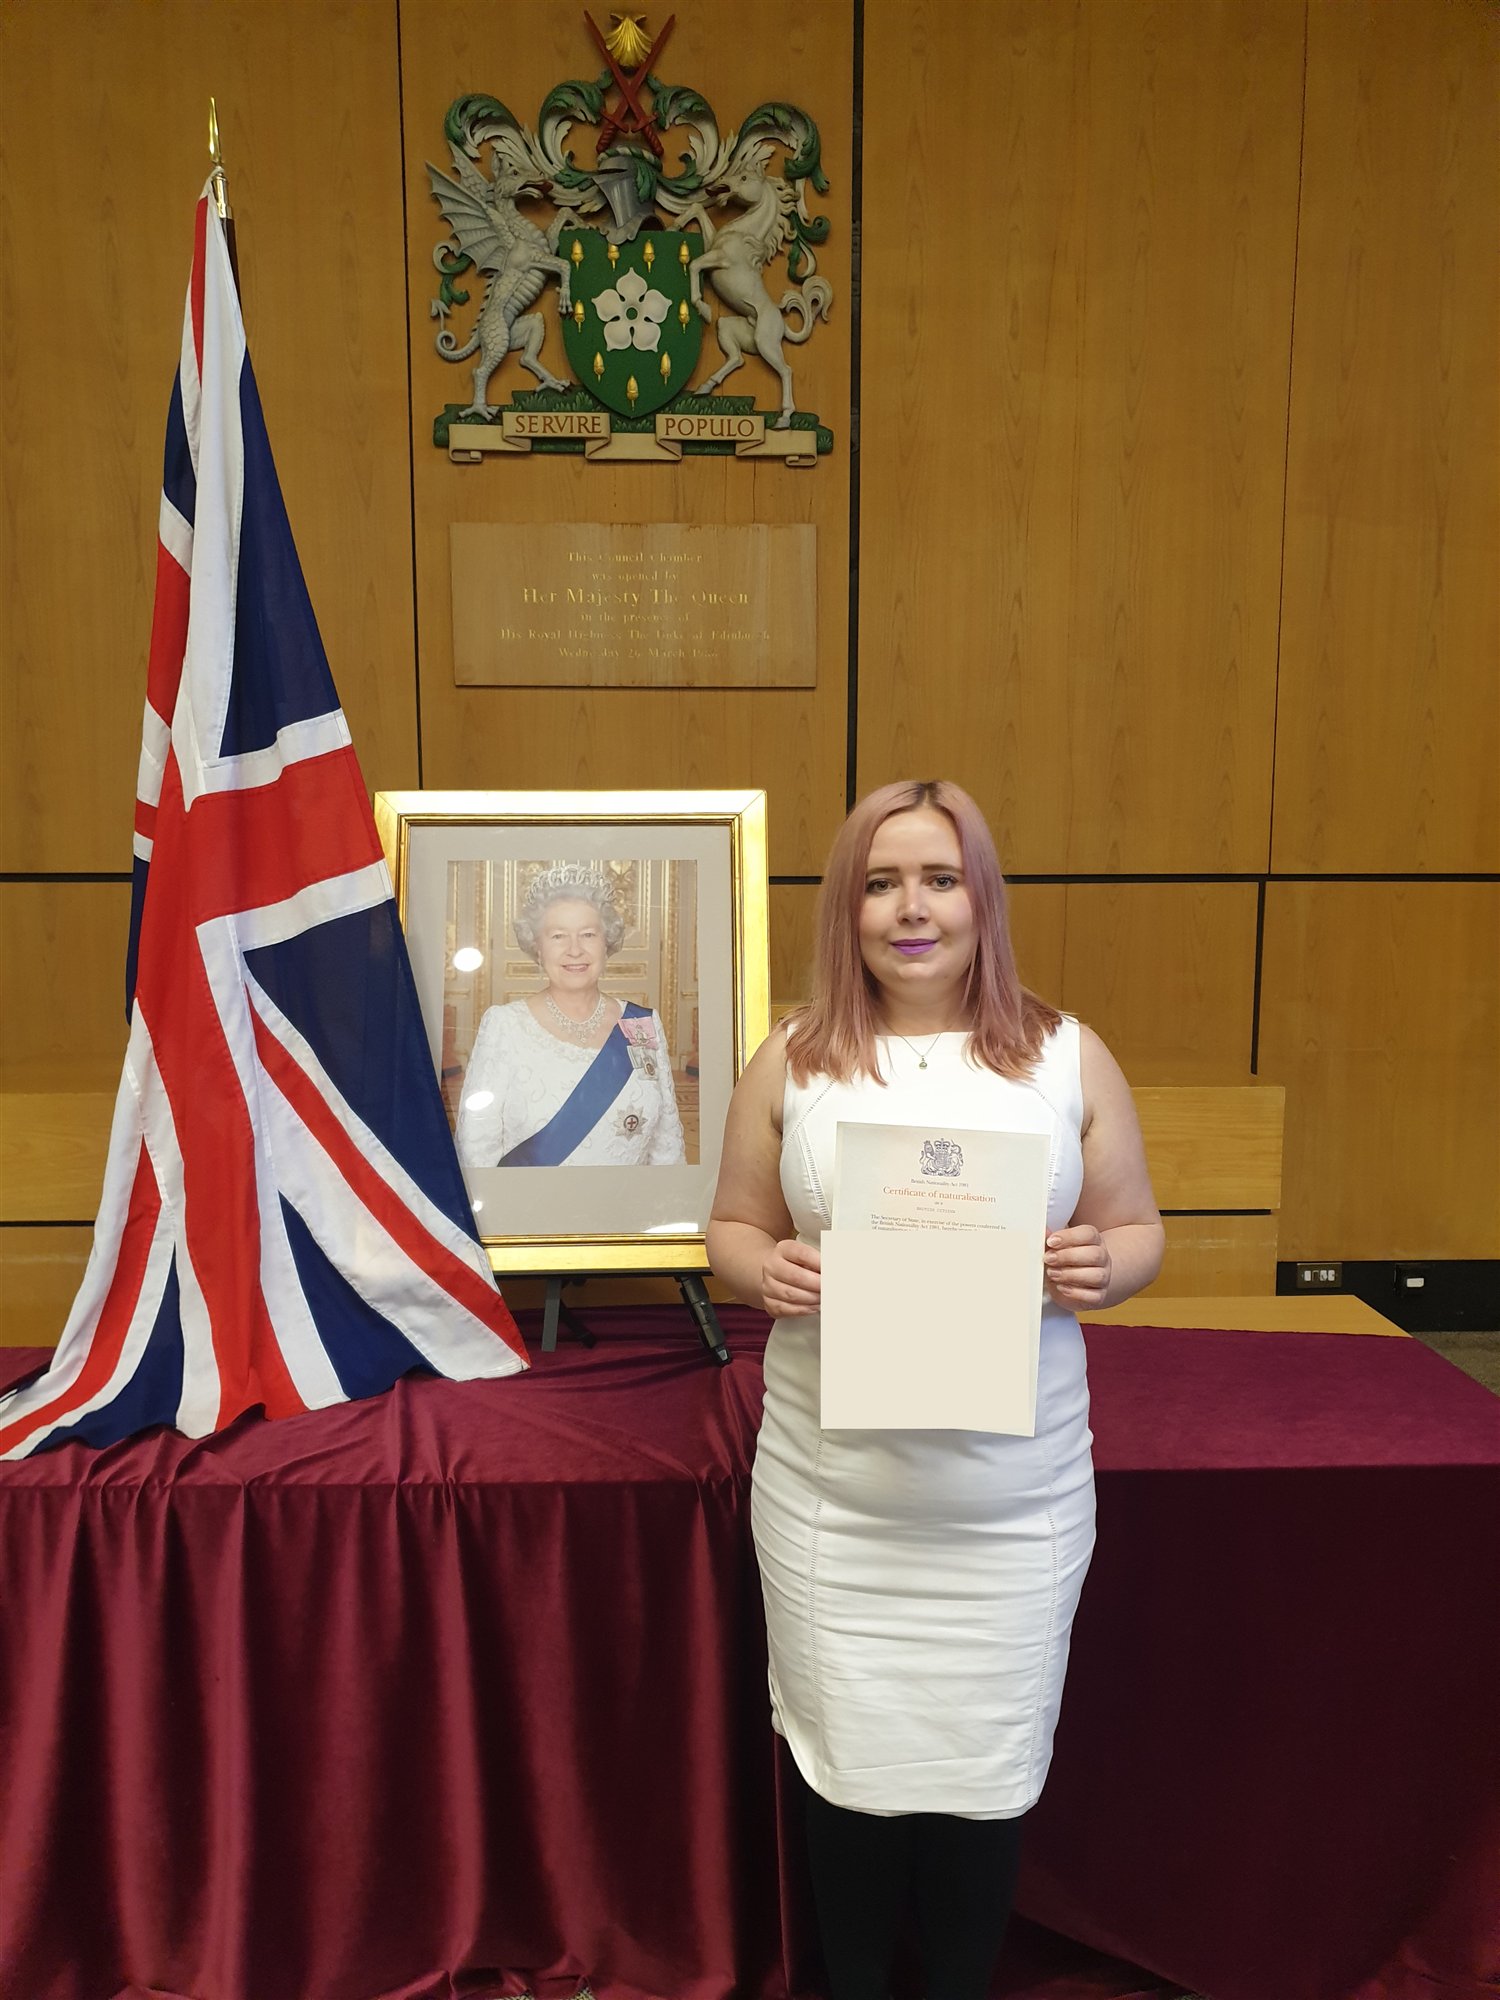
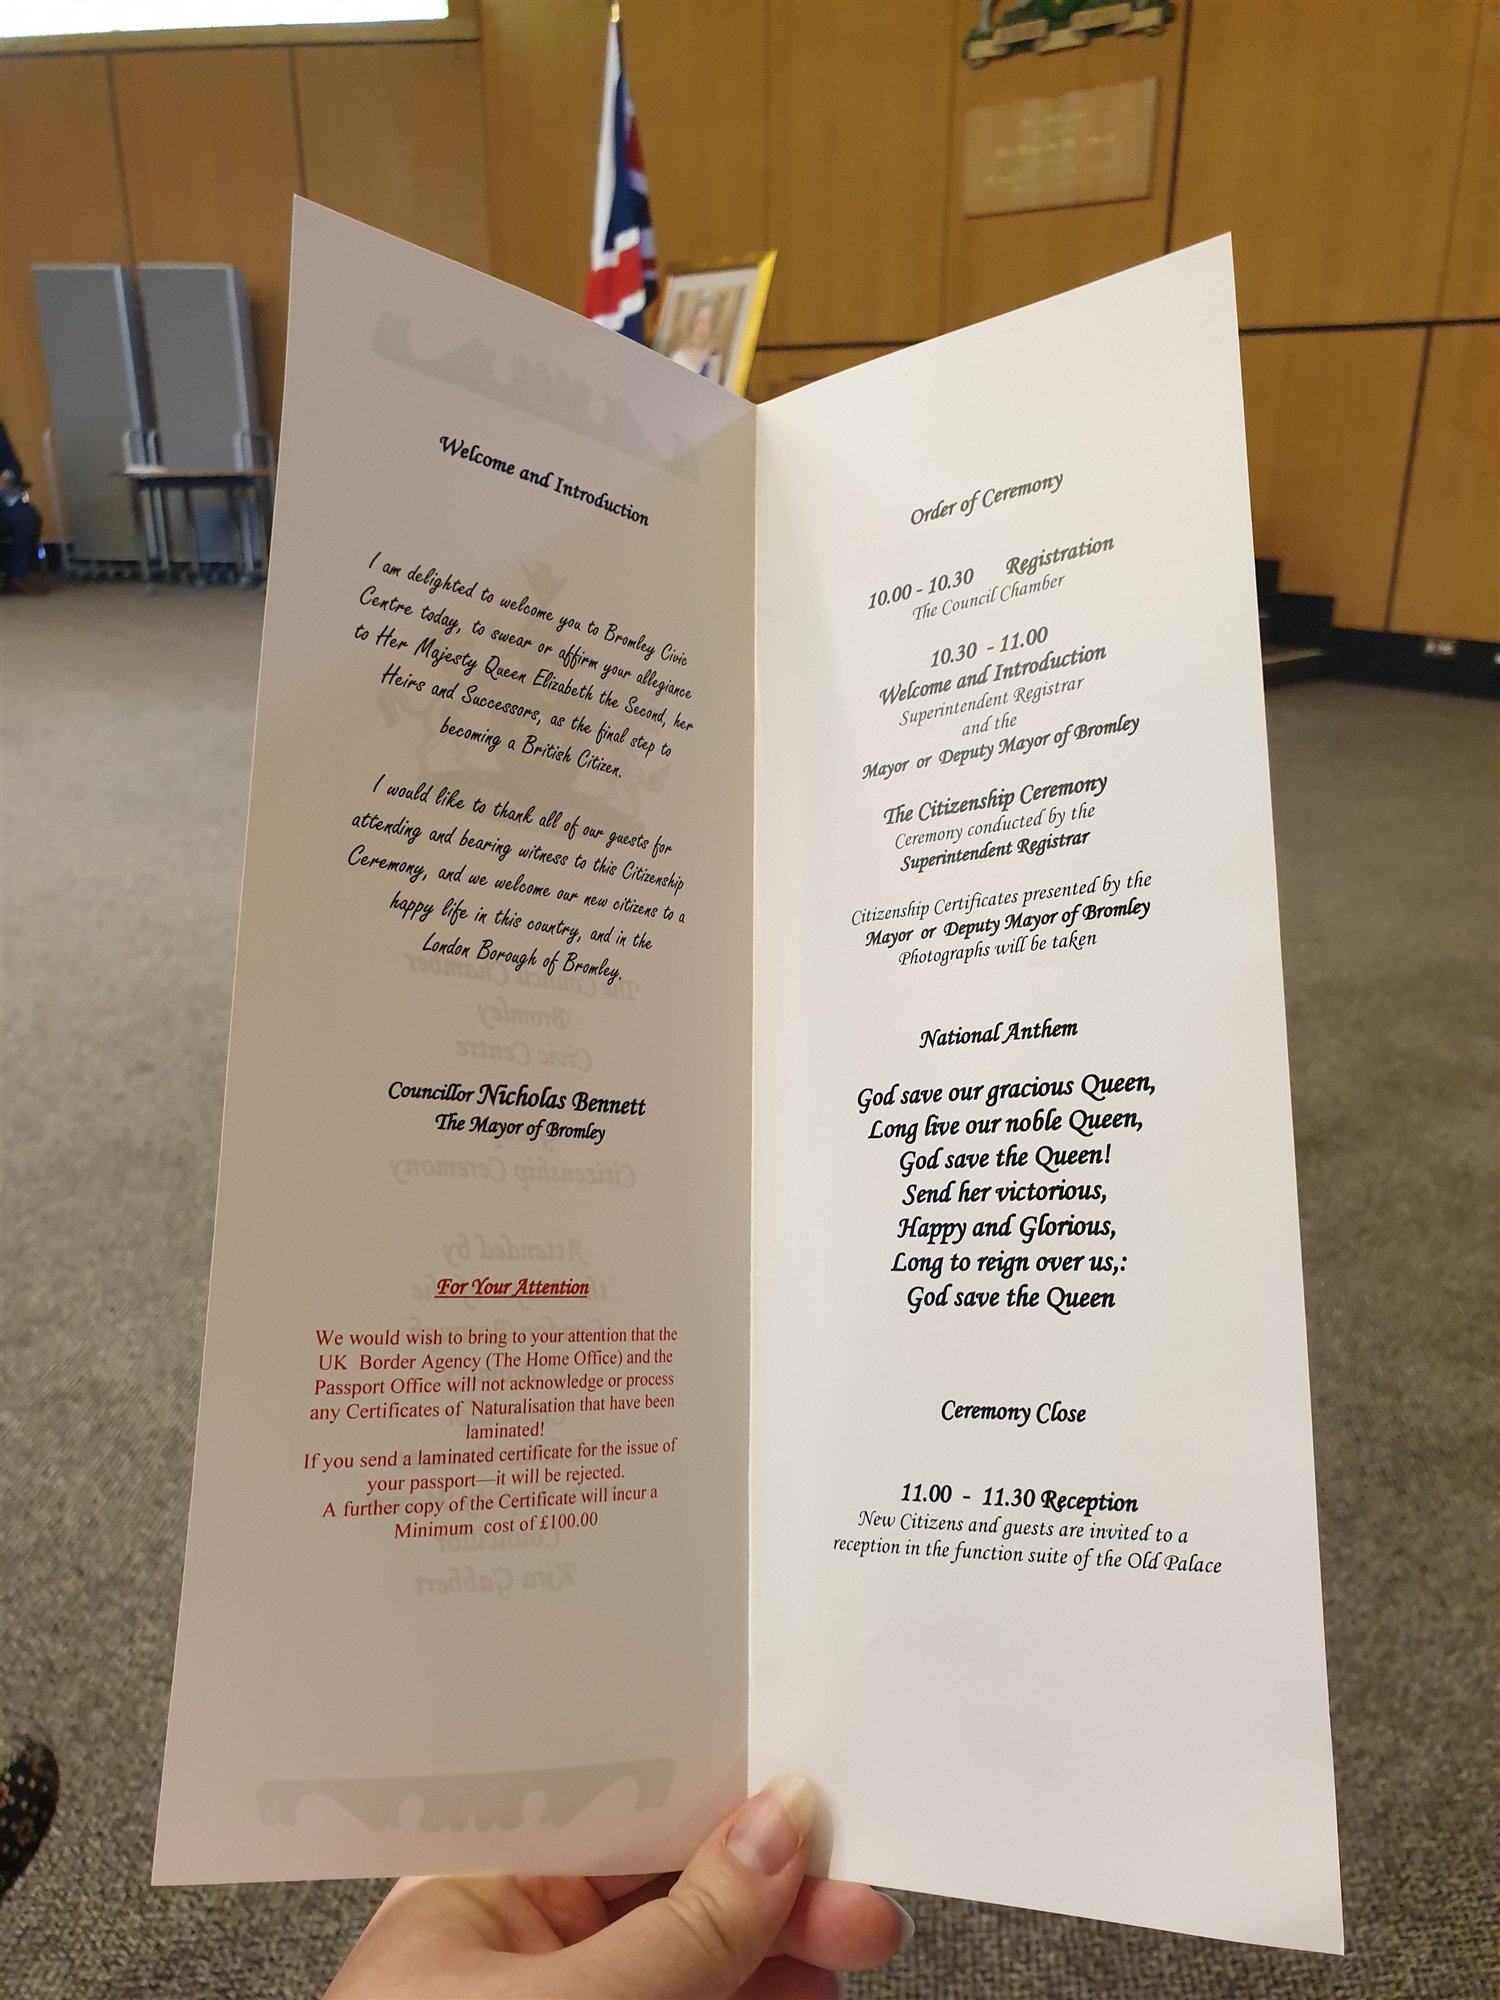
Mine was Tuesday 22 October 2019 at Bromley Civic Centre, six years and four days after I’d landed. My sister came and so did my boyfriend at the time. The letter said smart, national costume welcome. It’s not a casual-attire day. I went with a white dress.
What happened, in order:
- Signs around the building. Checked in at the door: letter, ID, ticked off the list, given a number and a seat.
- Housekeeping from the host, then a councillor came in to welcome us on behalf of the Queen and the government. It was the Queen in 2019. It’s the King now.
- The room was split in two: one side took the oath, the other the affirmation. Then everyone in the room, guests included, said the pledge.
- One by one to the front for the certificate and a handshake. Mine came with “Congratulations Katherine, you are a British citizen. Look, we share the same name.” The councillor was a Kathy.
- One verse of the national anthem.
- Tea and coffee in the room next door while you look at the photographer’s shots and decide. Cash or cheque only in 2019: £15 for a mounted print, £20 with the digital file, passport photos on the day for £5 alongside the ceremony photos or £10 on their own. gov.uk says you also get a welcome pack.
Then it’s done. I spent longer in the photo queue than in the chamber.
Your BRP. In 2019 the letter told me to cut mine up and send it back to the Home Office. Every BRP has expired now, so if you’ve still got one in a drawer, cut it through the chip and the details and bin it. The naturalisation guide says the same.
Dual citizenship, if you’re Australian
You keep it. The UK allows dual citizenship and there’s nothing to apply for. Australia allows it too. I’ve held both passports since 2019.
The one rule: use your Australian passport to enter and leave Australia and the British one once you’ve left. Home Affairs says an Australian citizen without an Australian passport can be stopped from boarding a flight home, so keep it renewed even if it never sees another stamp.
In 2019 I chose the 34-page British passport rather than the 50, because I could split trips across two. With stamps on the way out and everything going electronic, I wouldn’t sweat the page count now.
The passport afterwards
Once you’ve got the certificate, apply online for a first adult passport. £102 online, £115.50 on the paper form, usually within three weeks and longer if they want to interview you. The fast-track and premium services aren’t open to first adult passports, so there’s no paying your way out of the wait.
You can’t apply before the ceremony, because the certificate is one of the documents. Copies aren’t accepted: the certificate and the passport you entered the UK on go in the post as originals.
Someone has to confirm your identity: eighteen or over, living in the UK with a current UK or Irish passport, in or retired from a recognised profession and known you for two years. Not a relative, not a partner, not anyone at your address. You give their name and email, the passport office sends them a link with your photo and a few questions and that part is done.
Mine, in November 2019. Applied online on a Sunday morning, £75.50 plus £5 for secure return post, £80.50 all in. I paid the fiver because the certificate cost a hundred pounds to replace then. It’s £456 now. Pay the fiver.
The form stalled on me once: my mum holds a British passport and the form wanted her passport details, so I stopped, messaged her and waited. Have your parents’ passport details in the pile if either of them is British. My sister took the photo. You’re not allowed to smile.
Then it went like this. Posted the documents by registered post on the Monday. Wednesday, a text: received. Friday: approved. The next Tuesday: on its way, delivery Wednesday. The courier tried on the Tuesday, I rebooked for the Wednesday and it came Wednesday, while the passport office was still texting me it’d be Thursday. Believe the courier.
Ten days from applying to holding it, 10 November to 20 November. The certificate came back in its own envelope alongside it.
The best thing about it, after two visas and a citizenship application where you hear nothing until a letter drops: the passport office texts you at every step. You know exactly where it is.
Doing it yourself or paying someone
I did it myself, because for a straightforward application it is straightforward: the form tells you what it wants, you gather it, you book the appointment. I felt comfortable, so for me that was worth it. If you don’t feel comfortable, that’s exactly what the services exist for, to make it smooth and easy. If your application has a complication, a conviction, a gap, a messy immigration history, get advice from a lawyer or an adviser before you pay, because the form warns you there’s no going back once you have. Neither way is wrong.
What I’d do differently
Ring the council the day the letter landed, because the ceremony slot was the longest wait of the lot. And have my mum’s passport details ready before the passport form asked for them, instead of stopping halfway through on a Sunday morning to message her.
Worth it
Doing it myself. I knew what I was doing, so for me it was worth it. If you don’t feel comfortable, that’s what the services exist for. Neither is wrong.
Not worth it
The paper passport form. £13.50 dearer for the same passport.
Worth it
Secure return post on the passport. Five pounds against a £456 certificate.
Not worth it
Bank statements as proof of living here. The checklist said no in 2019 and I still get asked.
Worth it
The group ceremony. Free, forty-five minutes, two guests.
Not worth it
Ignoring your inbox on holiday. My sister’s approval sat unread for two months in 2022.
Worth it
Requesting your Australian travel records. The absences list builds itself. I wish I’d known.
Worth it
Travelling while you wait. Your life doesn’t stop for the Home Office. Just read your emails.
The Pivot
Worth it
Six years and four days after landing, a certificate with my name on it and champagne out of a red wine glass because I don’t own flutes. My sister’s version is better: she was a British citizen for two months before she noticed. That one’s on Controlled Chaos.
Where this sits
If you’re a year out from this, the two pages that feed it are indefinite leave to remain and the Life in the UK test. ILR is where the absences spreadsheet and the test pass come from. The test is the one you only want to sit once.
If you’re further back than that, start at moving to the UK from Australia: the visas, the money before you’ve earned a pound here and the Australian admin. Six years is a long road and it’s one of the choices I’m most glad I made.
FAQ
Who fills in the referee form?
The referee. They complete the declaration, sign it, add a passport photo and give it back to you to upload with your documents. You type their details into the online form yourself.
Why does the form want three years of my referee’s addresses and their passport number?
Because the online application asks for them. I asked the same thing in 2019 and the answer is to give what it asks for.
Can my friend’s profession count for a referee?
If they’re not clearly a professional person, ask UK Visas and Immigration before you rely on them. The rules are in the naturalisation guide.
How long does British citizenship take?
Usually within six months on the standard service, or usually within 30 working days on the priority service at £500. Mine took 16 days in 2019 on standard.
How much does British citizenship cost in 2026?
£1,839, which is £1,709 to apply and £130 for the ceremony, paid together. Biometrics are free. Priority is £500 on top and the first passport is £102 online. The fee table has the current figures.
Can I apply for a British passport before my citizenship ceremony?
No. The certificate you’re handed at the ceremony is one of the documents you post with the passport application, as an original.
Do I lose my Australian citizenship?
No. Both countries allow dual citizenship. Use your Australian passport to enter and leave Australia and the British one once you’re out.
Watch