
There have been a lot of changes over the past year with the visa process and you may have been wondering – UKVCAS how does it work? I will run through:
- How to book the biometrics appointment online
- The biometric appointment locations
- How to check UKVCAS appointment availability
- UKVCAS upload documents and categories
- What to expect when you attend the biometrics appointment.
Disclaimer: This is based on my experience of going through the process (I’m not a lawyer or immigration advisor). If you have any issues make sure you contact UKVI or UKVCAS.
As things are changing (due 2020 events) with UKVCAS service please keep up to date with UKVI latest information and UKVAS.
Disclaimer: Hi! this post may contain affiliate links which will take you to online retailers that sell products and services. If you click on one and buy something, I may earn a commission, see my Affiliate Disclosure for more details.
Difference between UKVI and UKVCAS
Before we get started on the process, let’s cover the difference between UKVI and UKVCAS.
UKVI – UK Visa and Immigration
Here’s a quick summary:
- UKVI are the ones making a decision on your application
- If you have any questions about the application they are the department to call
- Most importantly if you want a quick decision (i.e. super-priority) on your visa and you are eligible for it, this is where you want to spend the money!
Read more about the service here: UKVI Services and UKVI Information About UKVCAS.
UKVCAS – UK Visa and Citizenship Application Services
Here’s a quick summary:
- It’s a third-party service run by Sopra Steria
- Their website is where you book to have your biometric information taken
- Upload your supporting documents for your application
- Attend your biometric appointment at one of the centres which fingerprints, photo, signature and submitting your application.
Choosing Standard or Super Priority Service?
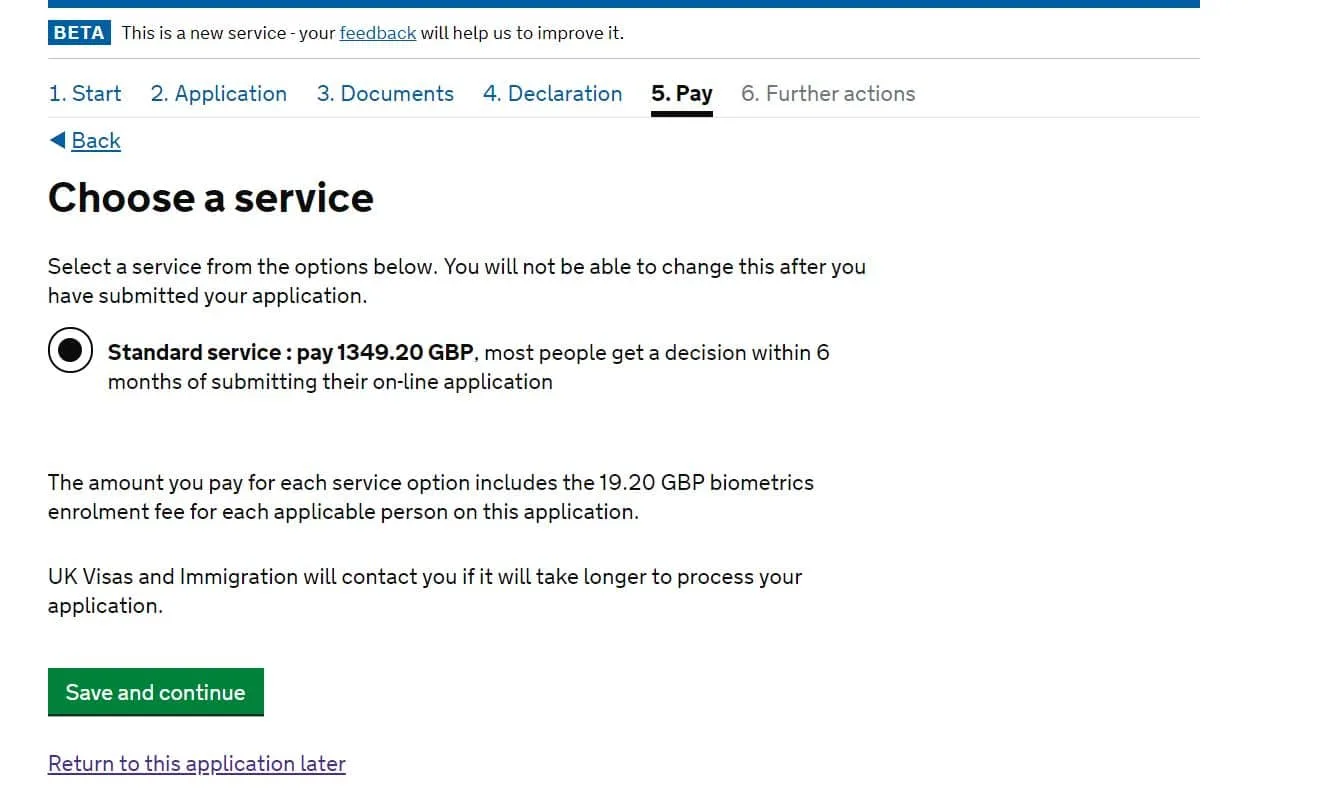
When you get to the payment screen you will be potentially presented with two options. This is the most critical part of the application, especially if you wish for a faster decision. They are:
- Standard service – get a decision within 6 months
- Super priority – get a decision in 24 hours
- Read more about processing times here.
If your visa is eligible for super-priority, then you will have the ability to choose this during the payment screen. This will give you a decision within 24 hours. Just to note this doesn’t give you a faster biometric appointment.
In this example, you can see there is only one option and unfortunately, UK citizenship is not eligible for super-priority.

The type of visa’s service is offered to are:
- Tier 2 or 4 visa
- Tier 2 or 4 dependant
- Tier 1 or 5 dependant
- Remain in the UK with family – applying in the partner, family life as a partner or private life in the UK routes
- Indefinite Leave to Remain
- And a few more.
The price of super-priority is currently £800. Here is the price list from UKVI.
Step by Step Guide to Biometrics Appointment for UK Visa (UKVCAS)
To complete your application, you must attend a UKVCAS service point to have:
- your identity confirmed
- any required biometric information enrolled
- any required supporting documentation digitised and checked
- confirm you are happy to send your application sent to UKVI
I will show you the steps I completed to create my account, booking an appointment, uploading documents and what to expect during the appointment.
UKVCAS has no bearing on the decision process, all it does if you choose to pick a premium appointment is to provide you with an appointment quicker, after hours etc. There are a few options. If you want a quick decision, then you need to choose this during the application process as stated above.
If you prefer watching the step by step process here is a video version.
UKVCAS Account Setup
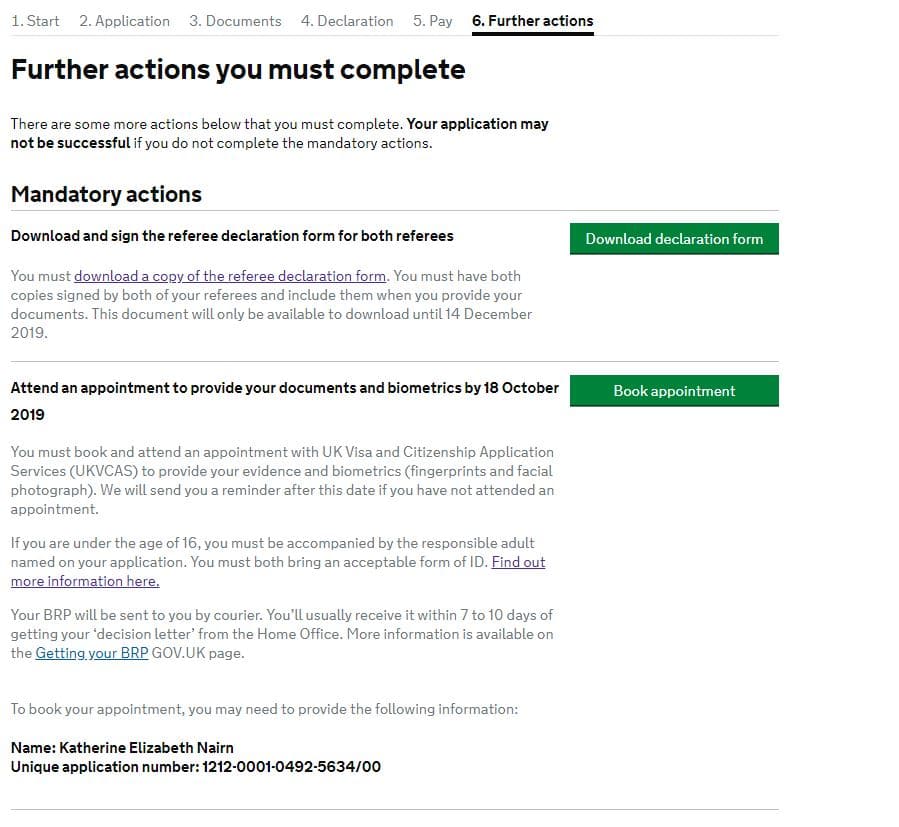
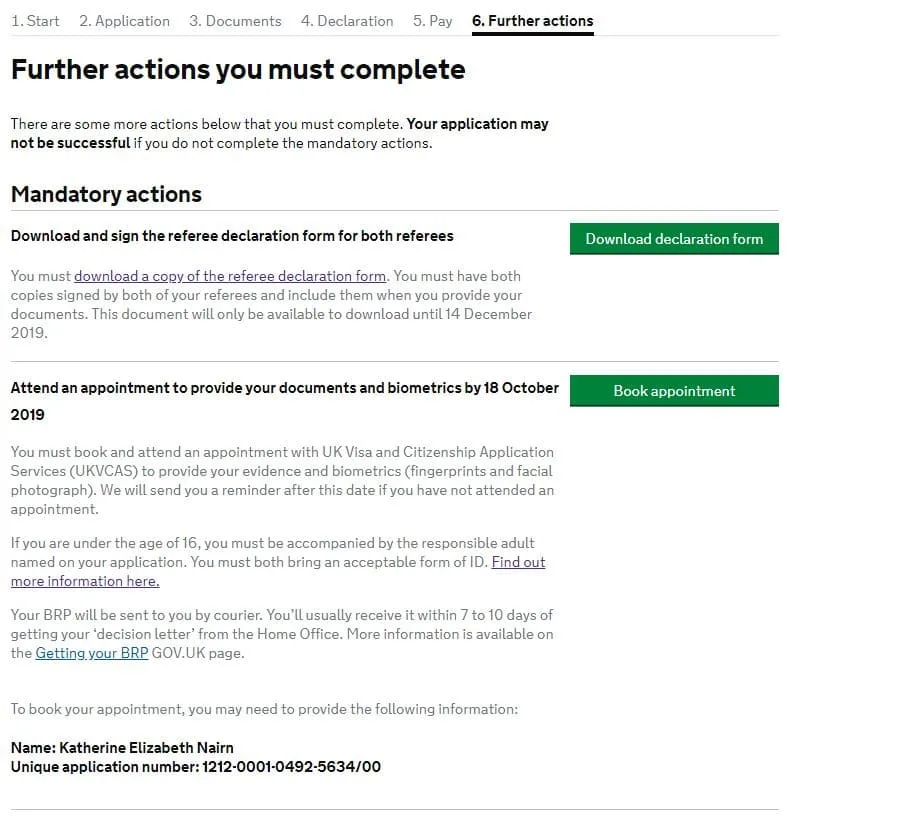
Once I reached the further actions page on the application I was presented with mandatory actions, one of these will be ‘book appointment’, I clicked this button to commence the set-up for the UKVCAS site.
Please note: if you have any issues with setting up your account you will need to call UKVCAS.
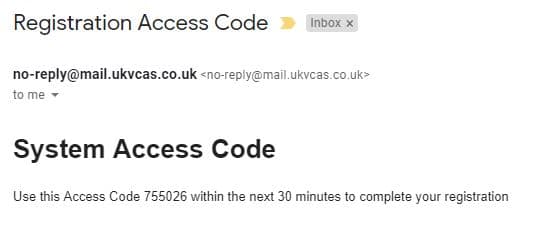
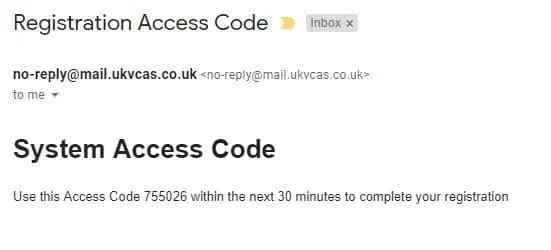
Next, I was presented with a screen to ‘get your access code’. This will be sent to the email address you registered with UKVI.

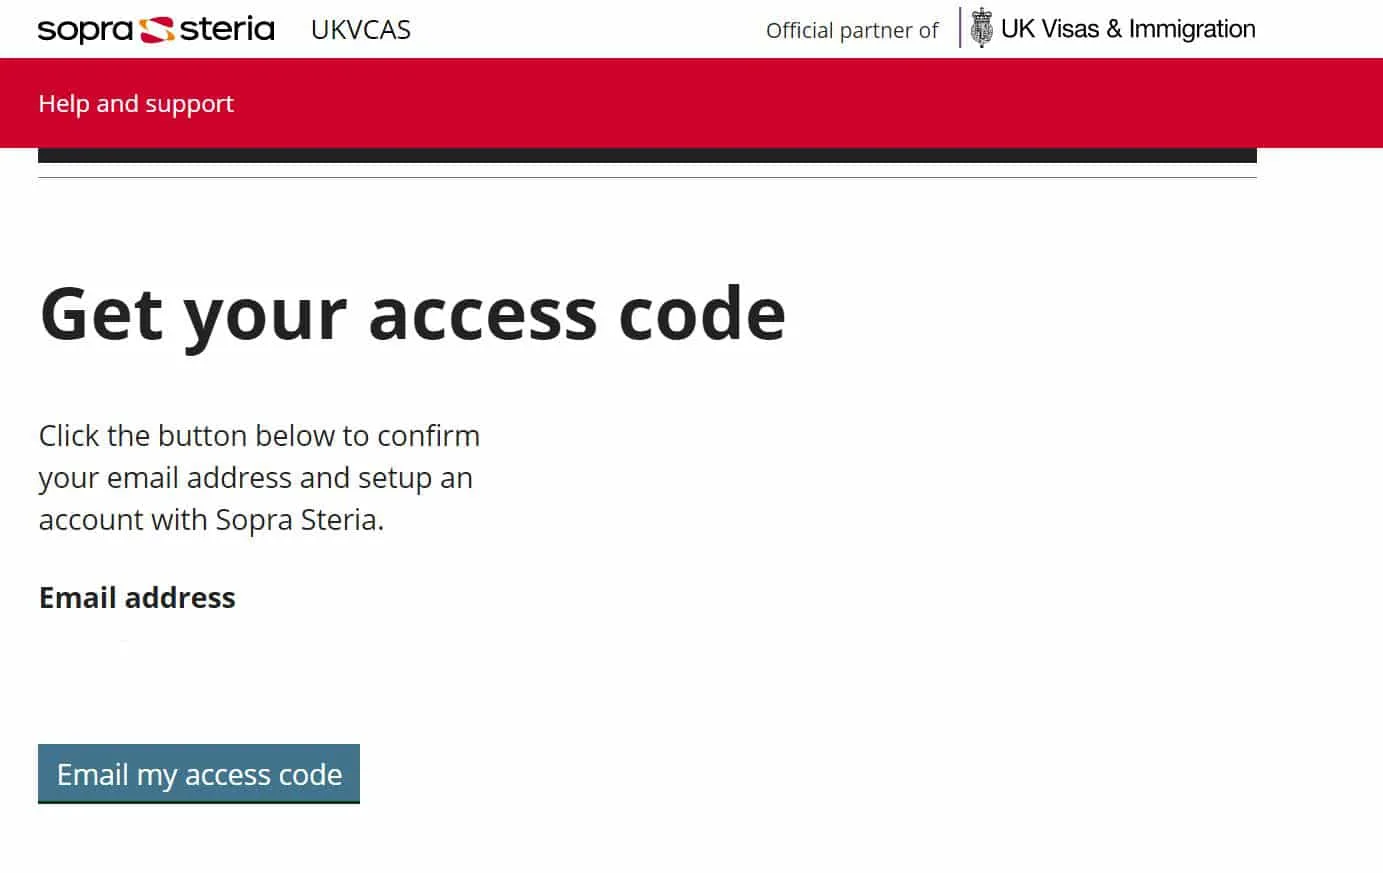
In my inbox I received an email like this with 6 digits, you have 30 minutes to use the code.
Finish the sign-up process I added the code and created my own password for the UKVCAS website.

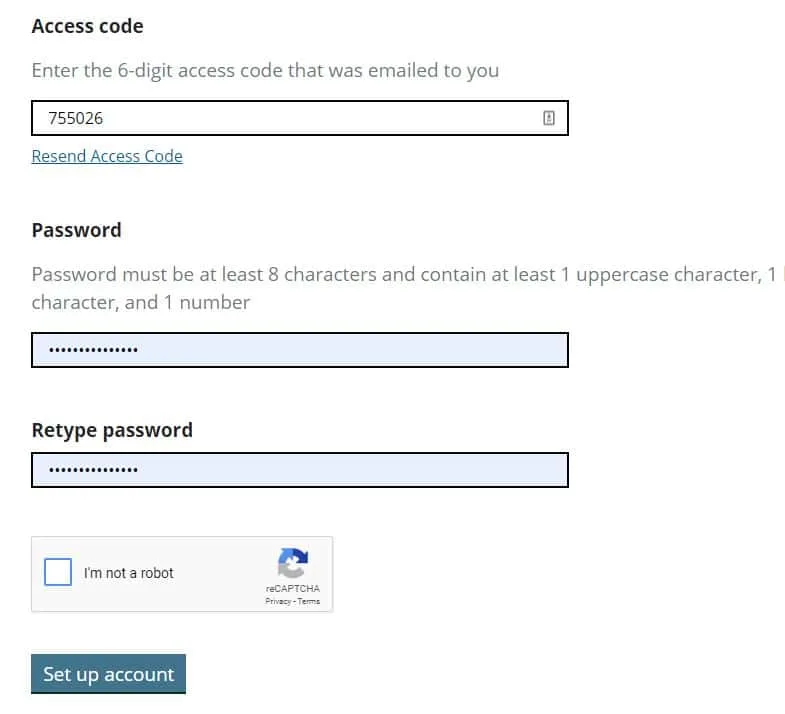
That’s it, my account was all set-up with the email I registered my UKVI application with.
Book Your Biometric Appointment
You can book an appointment in two ways:
- On the UKVCAS website
- by phone by calling the UKVCAS Premium Support Line on 0900 165 6600 (Calls cost £2.50 per minute)
Personally I did all of this myself via the website.
Once I set-up my account and then logged on, I was taken to a home page which explained the booking of the appointments, the extra services and stuff they offered. I kept scrolling through until I got the book appointment button at the bottom of the page.

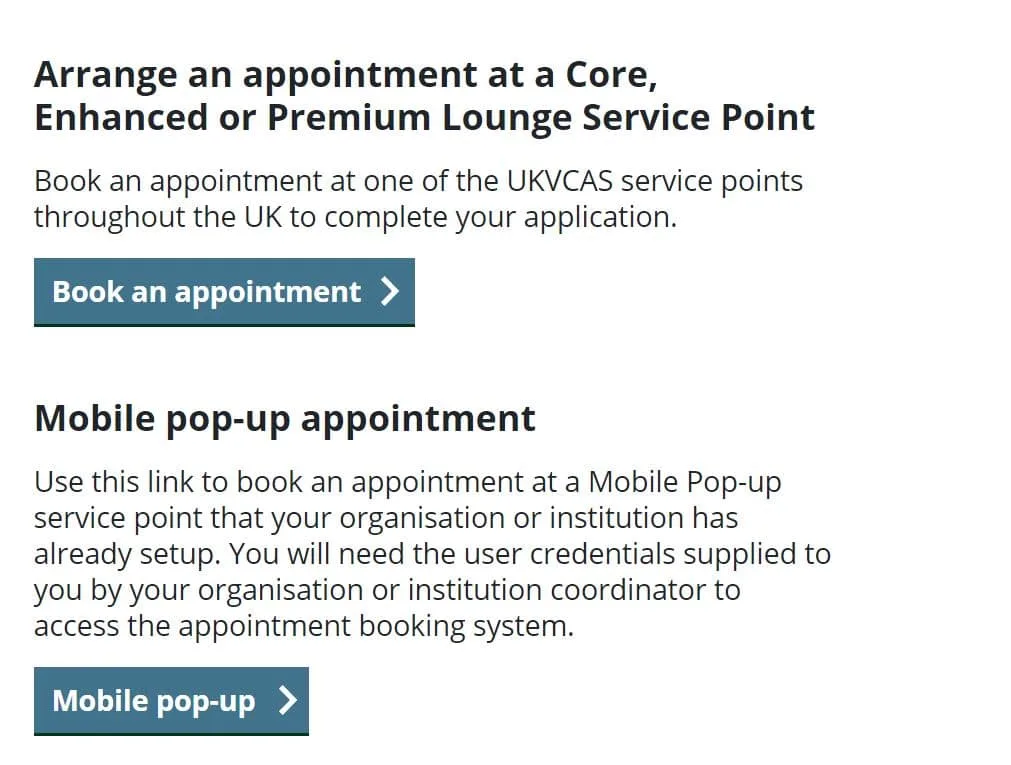
Next was choosing a service point location. The tool gave me the closest centres near me or I could search by using a postcode.
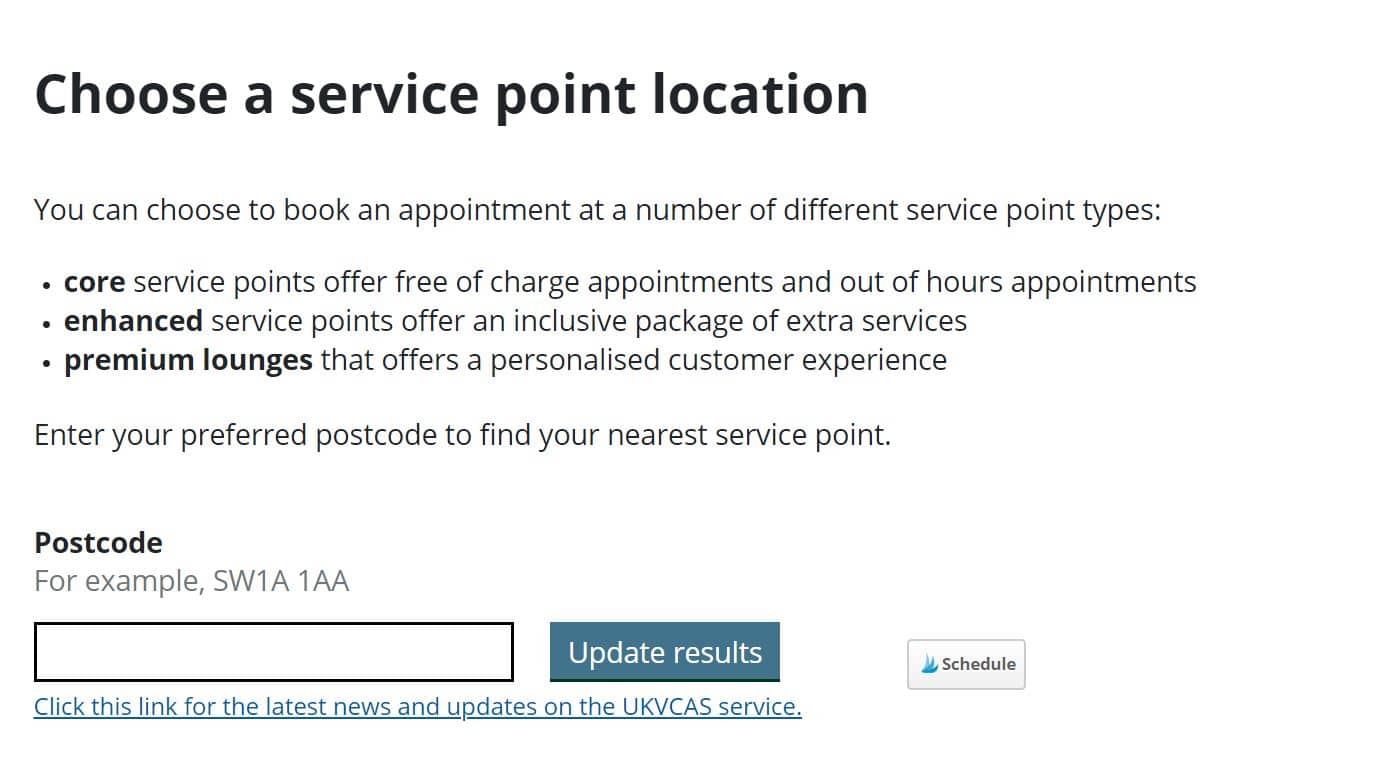
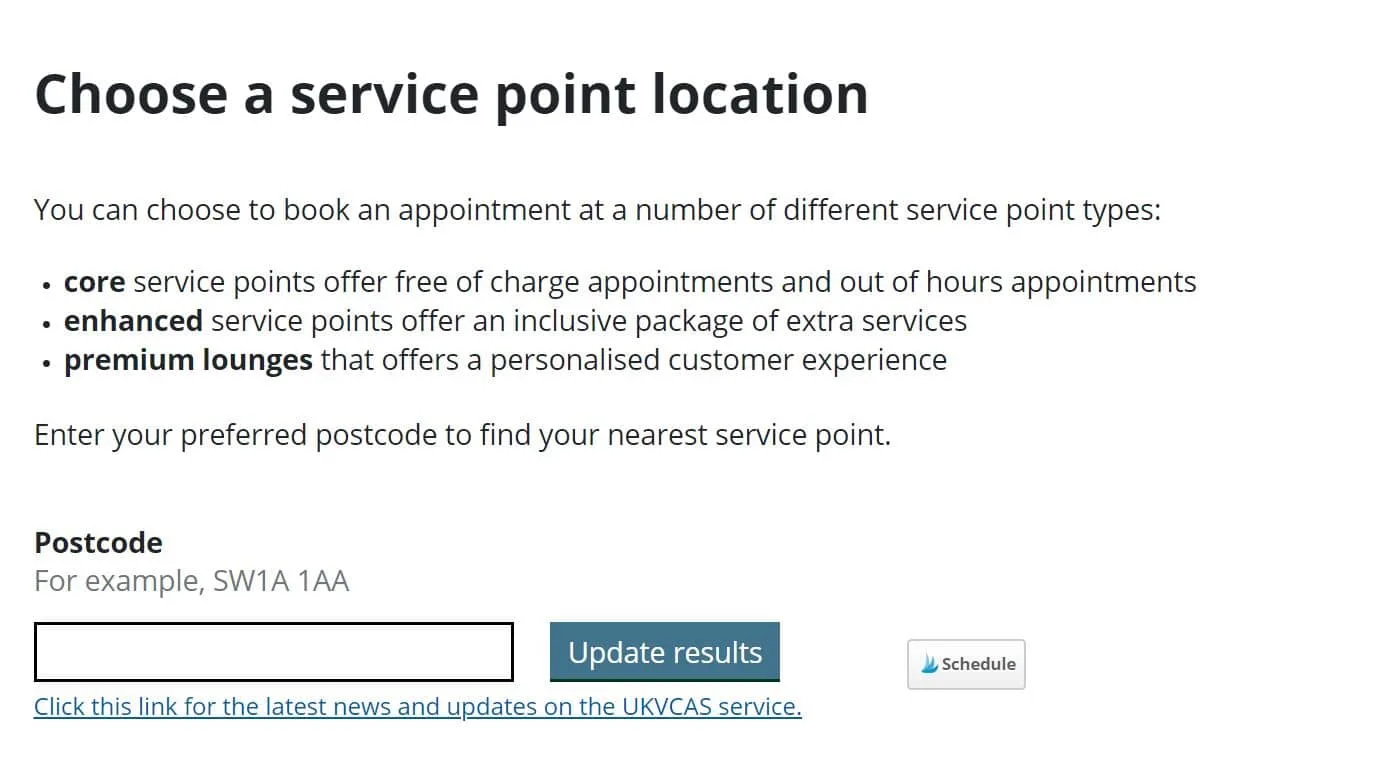
If you wish to get a free appointment there are 6 core service centres offering free appointments – Manchester, Birmingham, Glasgow, Cardiff, Belfast and Croydon.
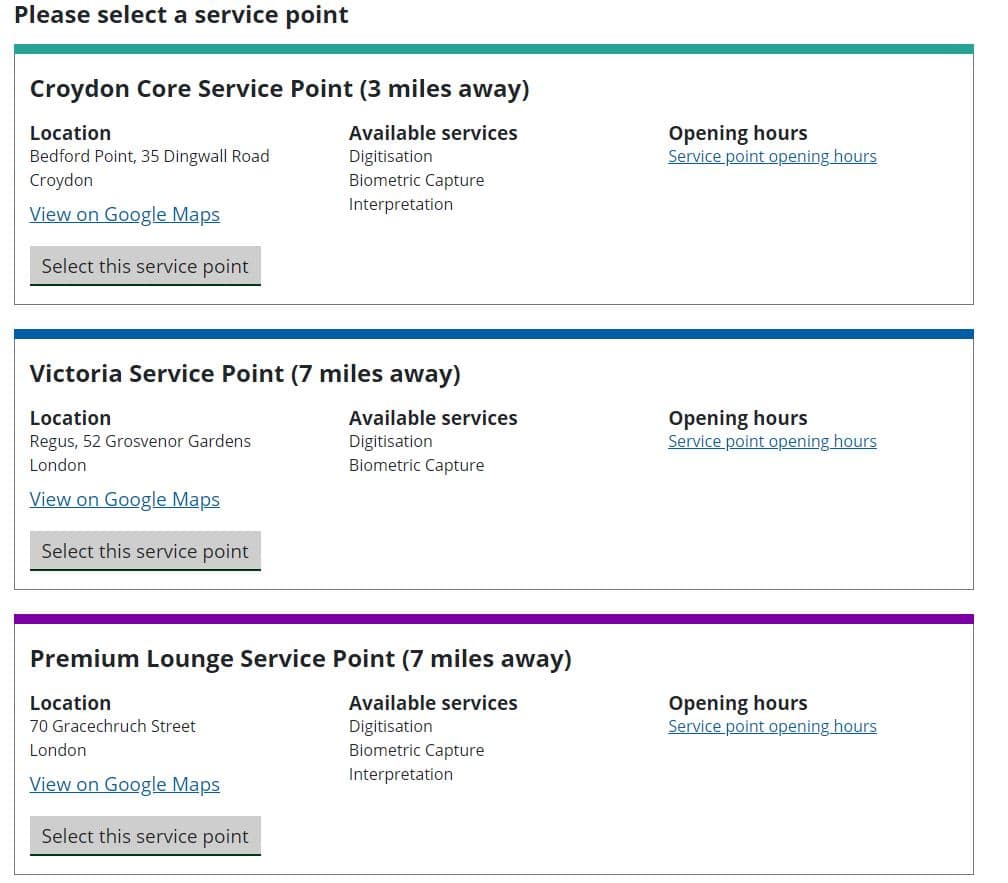
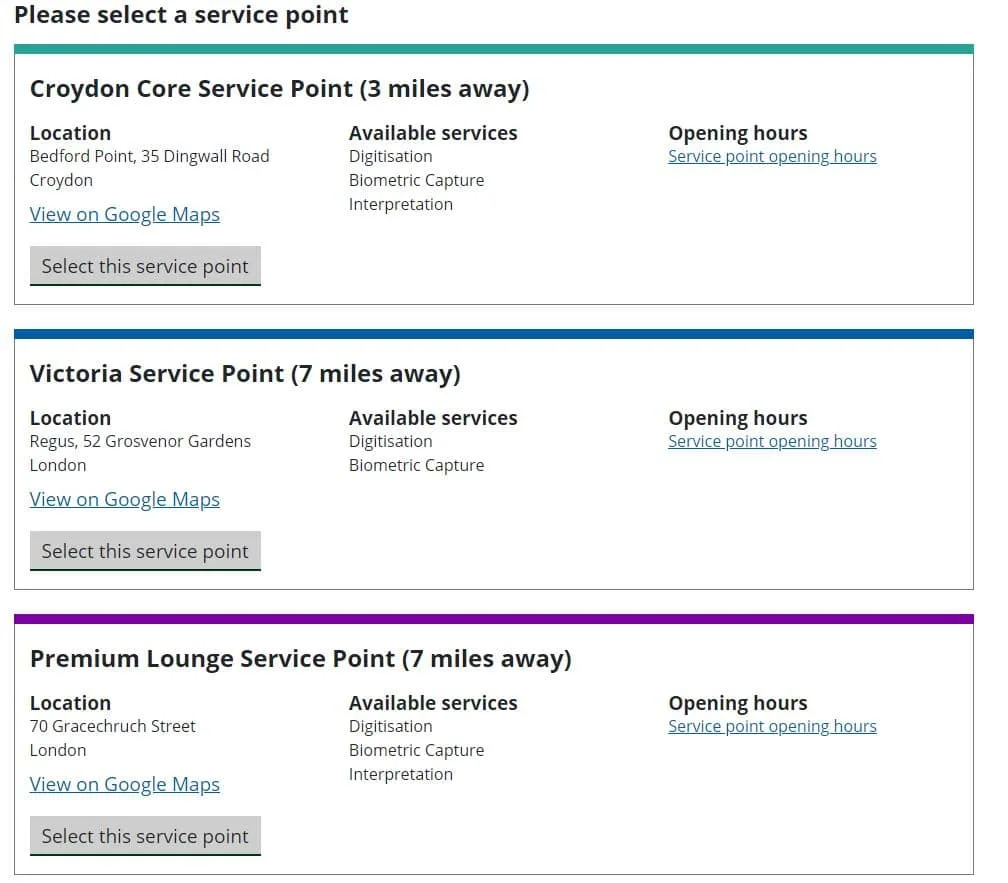
Once I was happy with the location, I clicked on select this service point which gave me the available appointments.
Next was the choose your appointment screen which showed me the appointments for the first week and you can keep pressing next for further dates. When I clicked on the dates it told me if there are appointments available and the price if it was a paid appointment.
As you can see below there is a range of free and paid appointment between £50 to £100. Read more about the fees here.
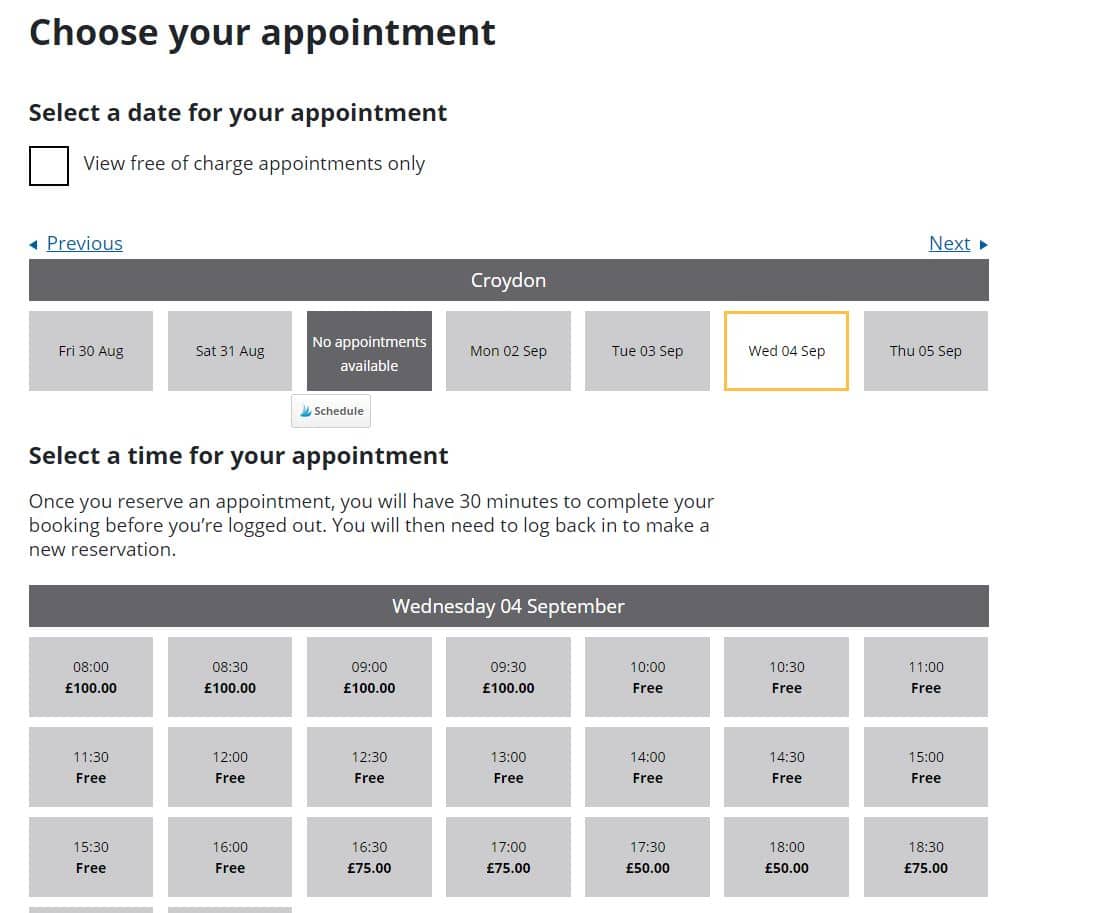
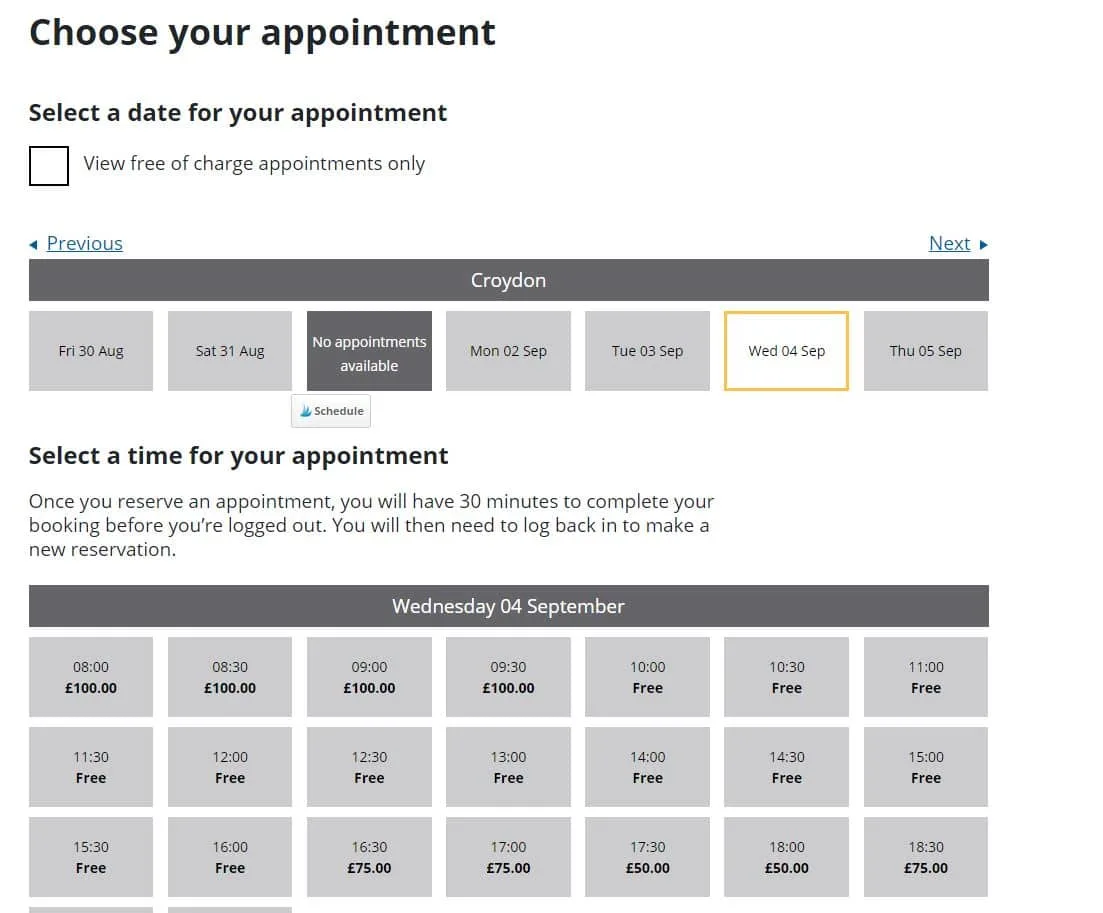
I was happy to wait for an appointment but it is dependent on what you want to do and how quickly you want to get your application done.
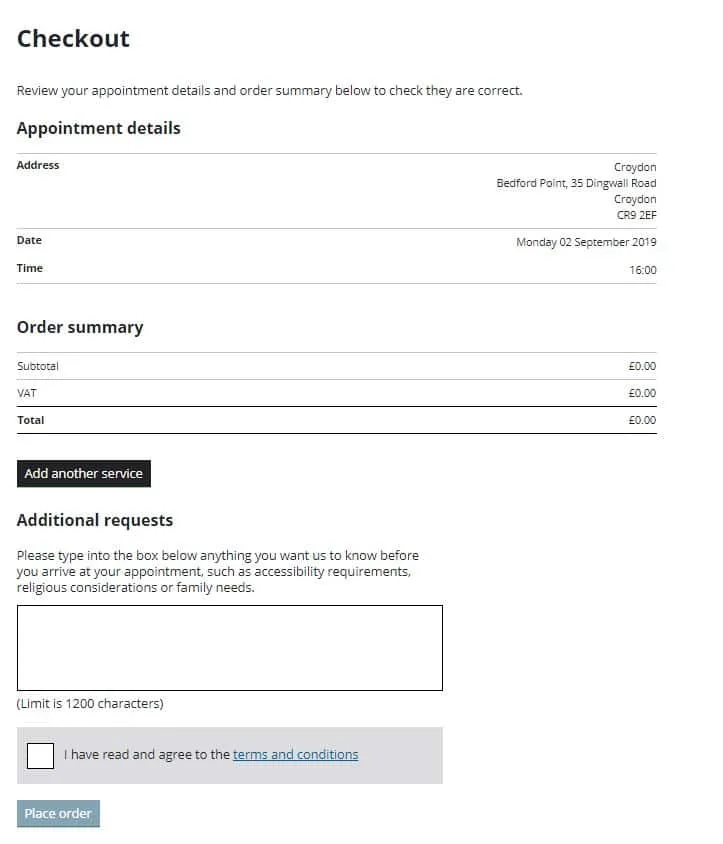
I selected a time I was able to make and then went to the checkout screen which gave an order summary. As I had a free appointment it states 0 but if you have a paid appointment this is where you would enter the payment flow. You can also add additional services here like document checking.

Once I finished booking the appointment and I received two emails. One was the tax invoice and one was the booking confirmation.
The booking confirmation is a must to take to your appointment and this will be the thing that will track you through your biometric appointments. It’s really important. You can either print it or you can take it on your phone but you do need to have a copy available.
It has a QR code and information about me and my appointment and that’s basically it, so nothing too exciting.
UKVCAS Upload Documents
Remember that checklist from the application? Well, that’s your guide on what you need to upload document wise! You do have the option of paying UKCVAS to do this for you but I just did it online at home for free.
You can upload documents in stages right up until you attend your appointment. When uploading your documents, there are a few guidelines.
- Document type: The documents are marked as either mandatory or other documents. A description of the mandatory documents required for each category is provided in the tabs.
- Category: Your supporting documents need to be submitted under the categories. Some are easier to determine than others – see categories below.
- File Format: PDF is the preferred format, JPG and PNG format. If you don’t have a scanner just search for an app in the Google Play or Apple Store, there will be quite a few available.
- File Name: needs to be as simple as possible e.g. bank-statement-Apr-2018.pdf. Do not use filenames having special characters, #,ë, or bank.statement.apr.2018.pdf
- File Size: maximum file limit is 6MB. You can separate your documents into parts if your file is too big and there is no limit on the number of documents/files you can upload.
- Scan in Greyscale or Black and white: This helps with controlling the size, although I didn’t end up reading this part before I scanned all my documents and they were fine in size. In fairness, there wasn’t as many as my ILR application.
- Password: Make sure there are no passwords on the files and they are fully accessible. I know it can be worrying by not protecting your information but it can delay a decision if they are unable to access any of this.
How to Upload Your Documents on UKVCAS
Depending on where you are ready to upload documents, you can either do this straight after booking the appointment or whenever you’re ready.
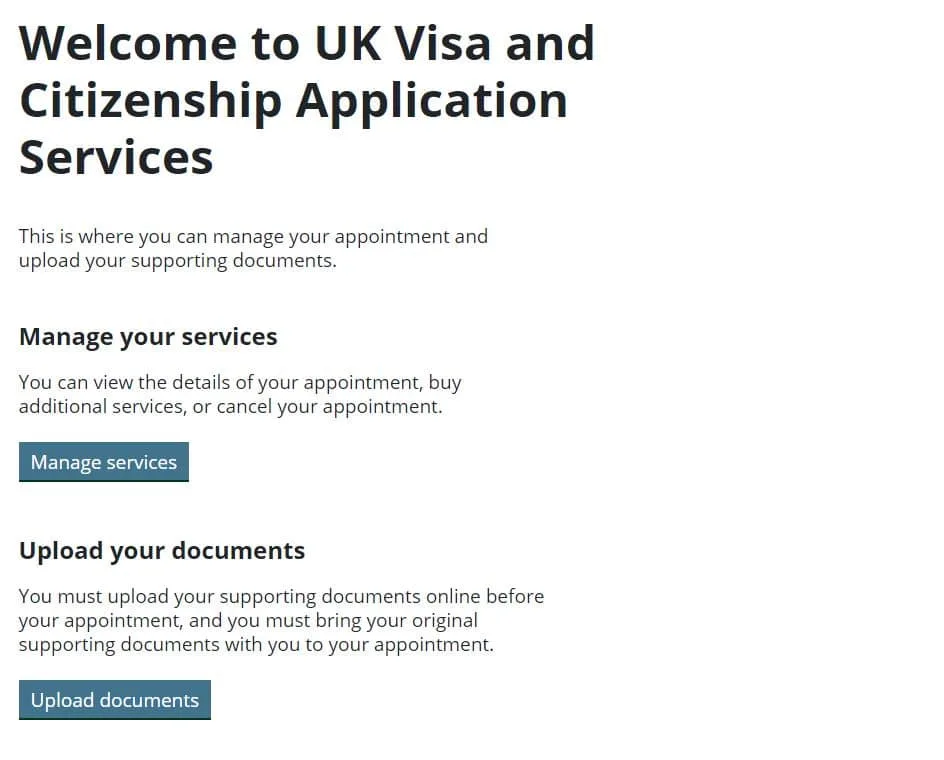
I did this before my appointment so when I logged in you will be presented with a welcome page that had an upload your documents button.
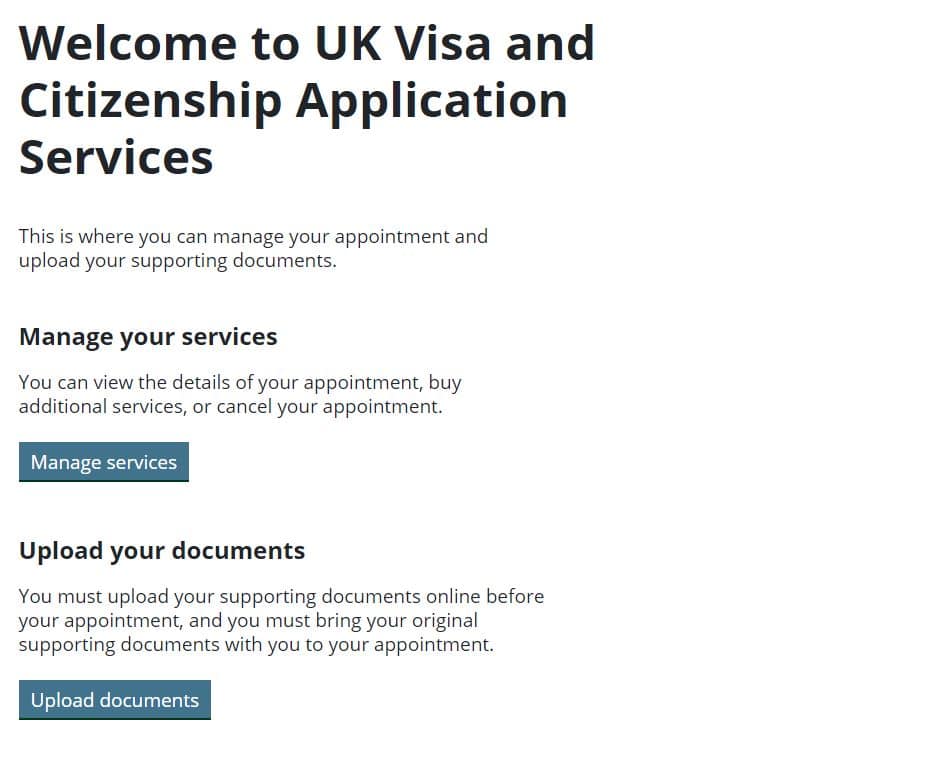
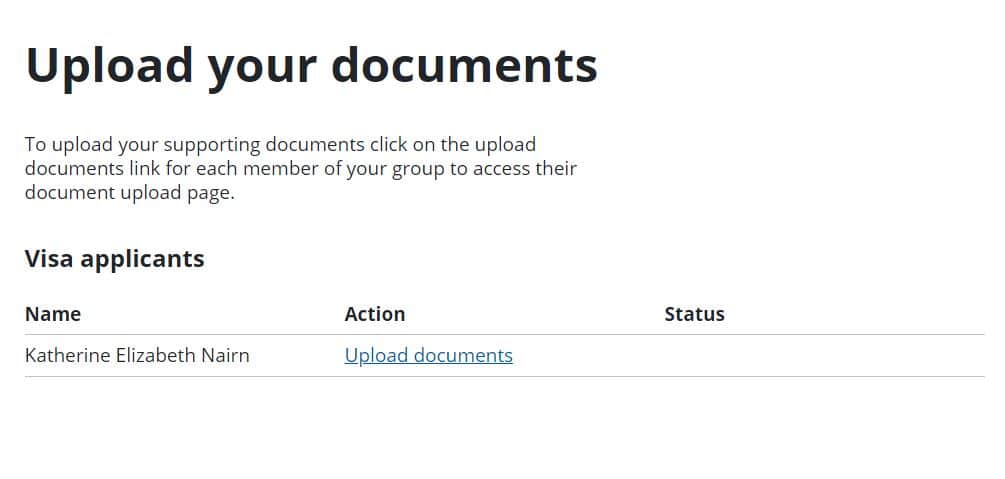
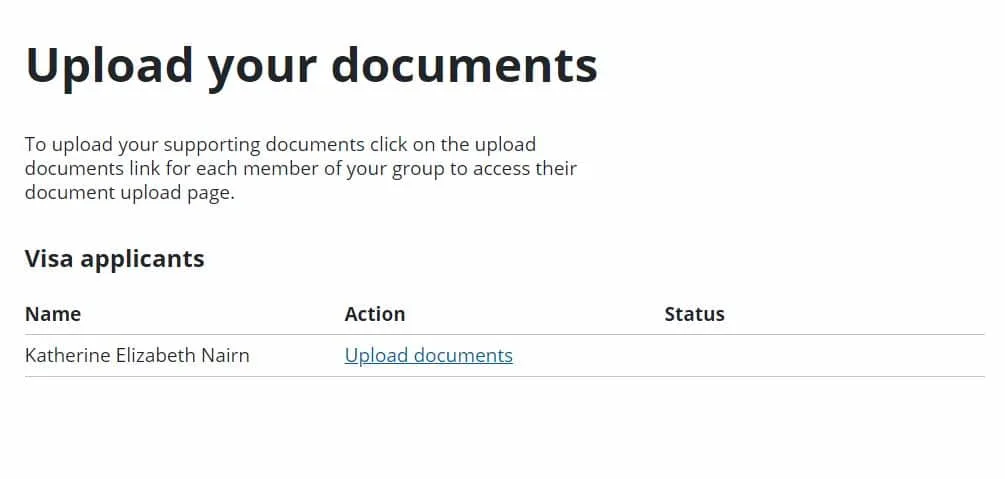
Once I clicked the button I was presented with visa applicants, as it just me, it’s only my details. I clicked the blue action link which took me to the next page.
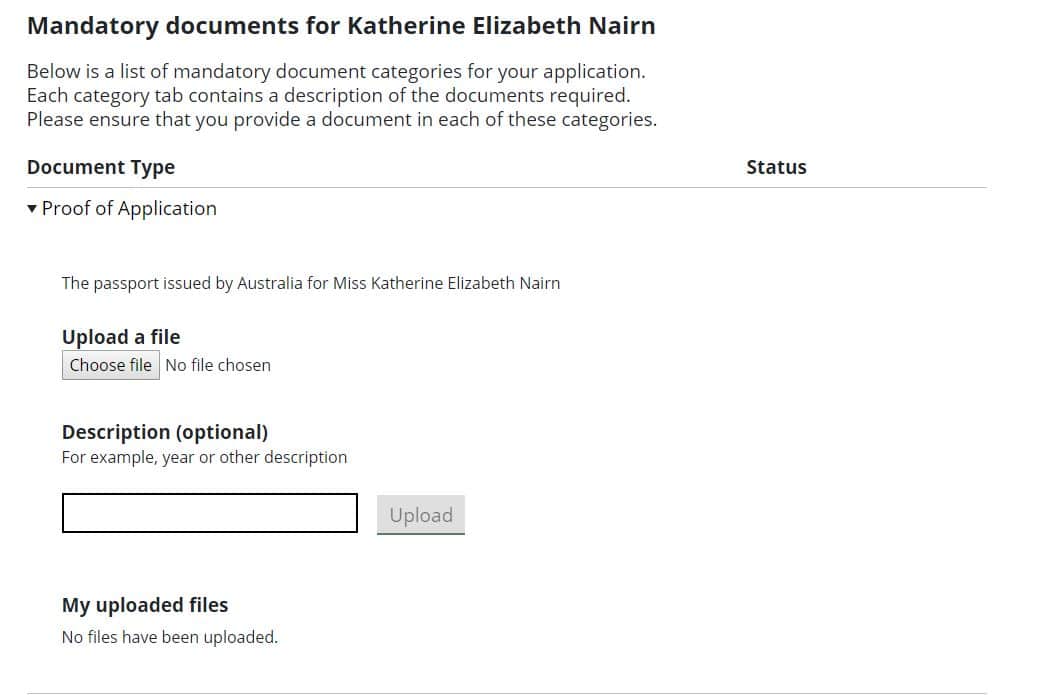
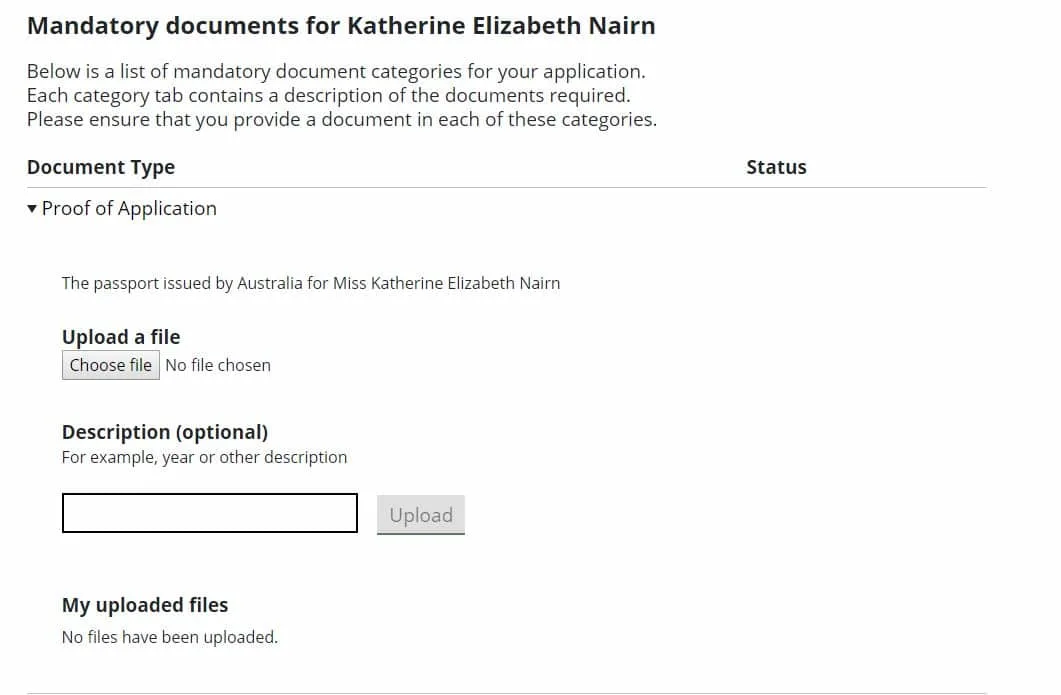
There is some information about the files and formats which I have summarised above and you will reach the upload section. This example just covers the mandatory document.
All I did was upload the named file I had and added a description which basically Katherine’s Front Page of Passport. Just to note I also uploaded a copy that had every page that was stamped in my passport in another section.
Once uploaded my document there was a status to say how many files were added.

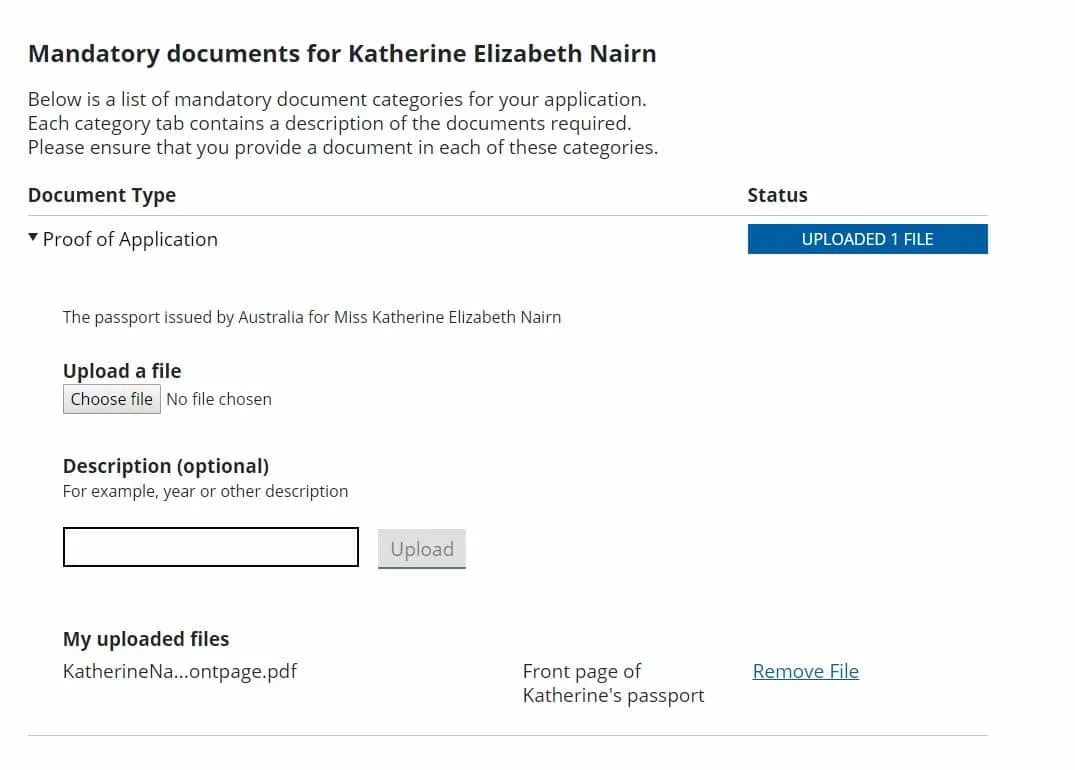
That’s it! I kept repeating until all my files were uploaded.
UKVCAS Document Upload Categories
One of the biggest things that I found a bit annoying is there is no guidance from the UKVCAS or UKVI on where you’re supposed to put them. I made a few assumptions and added information where I thought it suited best.
This is all based on UK Citizenship to give you an example, if you are applying for other visas like Spousal Visa then chances are you will have documents such as life events. Just make sure you include all the documents that your checklist states in the visa application.
Mandatory Documents
Statement from UKVCAS website in the document upload section: Below is a list of mandatory document categories for your application. Each category tab contains a description of the documents required. Please ensure that you provide a document in each of these categories.
Proof of Application – I only added my passport here because that’s what it stated I need to put here.
Optional Documents
Statement from UKVCAS website in the document upload section: Below is a list of optional document categories. Please ensure you check your Access UK document checklist before including documents in the categories below. For some application routes, ‘Optional’ documents offer you the ability to provide evidence in a number of categories at your discretion to satisfy immigration rules.
- Other – I included my referees in this section.
- Residence in the UK – I included my approval letter for my indefinite leave to remain and then I put my BRP card with my indefinite leave to remain there.
- Finances – I included six P60’s from 2014 to 2019.
- Proof of Business – I didn’t include any proof of business.
- Life Events – I didn’t include any Life Event documents.
- Medical Information – I didn’t include any medical information.
- Sponsors / Employment – I included two employment letters and also one HMRC letter from 2018 from my indefinite leave to remain application.
- Proof of Identity / Travel History – I included my Excel Spreadsheet that covers all of the dates I’ve been outside the UK, my current passport and my old passport, which includes all of the pages from the passport. The front page and then all the pages with stamps on them.
- Educational – I included my life in the UK pass notification.
What Happens at the Biometrics Appointment?
When I arrived at the biometric centre, I was greeted by a security guard and he requested that I give my booking confirmation and my passport. The next step was speaking to the receptionist who my booking barcode to confirm what floor I needed to go to.
Once I arrived at the appropriate floor I was greeted by another staff member who gave me a ticket number which was to be used during the process. They advised me that there will be two parts phase of the appointment.
Part One: The Biometrics.
Basically, they have these booths that record your biometrics with a computer system. The only way that I can describe it is like the passport e-gates at an airport. When you go through the e-gate and you scan your passport and takes a photo and then lets you through, that’s basically how these biometric systems were, except they just take your signature as well.
You will be explained the process before you register your biometrics. The photo process is probably the lengthiest process of all of it. It’s very picky and can take a while to get a photo it likes.
Once I did that, I walked back out to the waiting room until my number is called again.
Part Two: Checking of Documents and Submitting Your Application
Another representative came and collected me. This is the stage that they went through my application, documents and biometrics. The first thing again they ask for is that confirmation sheet with a QR code and your passport. They will scan that in, it’ll bring up all the details of that and your application.
My biometrics was reviewed which just double-checks your photo, signature and fingerprints are ok. I had to explain any scars or markings on my fingerprints which was recorded against my biometrics.
The next thing he did was scan my current passport again, I did previously have both my latest and older passport uploaded to my application.
Next he just quickly scrolled through what I had put in there, for example, you’ve put life in the UK test on here and a few other documents, but he didn’t check a single one of my documents.
After that, he asked, “Are you happy with the application and the documents you’ve put in your biometrics?” You must state yes and then they will submit the application for you. That will trigger the decision process for your application.
Next Steps
The waiting game! There is no ability to track your application through UKVCAS or UKVI, you just have to wait for a decision to arrive. You can call UKVI to discussion your application if you want further confirmation.
Hopefully, my experience has given you an understanding of what you could potentially expect. Make sure you keep up with the UKVCAS and UKVI websites to see if there are any changes.

Kat
Hi, I'm Kat, an Australian that moved to London in 2013 to start a new adventure. What a roller-coaster that was! I love helping others move to the UK and people explore the world! I’d be honoured if you’d say, “Thanks!” with a £3 coffee on Ko-fi.


Ana
Tuesday 16th of February 2021
Hi Kat, Quick question :) When I am going to my Biometric Appointment do I need to take all the uploaded documents with me? Actually do I need to take anything with me ir just the passport? I have applied for British Citizenship.
Thanks Ana
Stephen
Thursday 11th of February 2021
Hiya Kat, so I had completed the online BRP replacement application and now just need to attend appointment for fingerprints and face shot. I applied in 01 October 2020 and and when I check the application it says I need to have attended the appoint before 03 December 2020 but due to lock down and corona branches next to me were closed or the appointments would be fully booked. So my question is can I still apply and schedule an appoint with this online application or would I need to start a new one.
Igengo
Monday 8th of February 2021
Hello Kat,
Such a fantastic job you did here. Bravo! Please, kindly help me clarify this little error i made on my visa application. I mistakenly submitted my application while i am yet to be through with my documents upload. Please what's thr implication. Can i still correct this and upload the remaining document?
Lisa
Sunday 7th of February 2021
Hi Kat, I have applied for biometric residence card and booked a appointment in last week of February. I don't know how to upload the documents. where do we uplaod the supporting documents and do we have to upload it before the biometric appointments? or Can we do it on the same day of the biometric appointment day? I would be grateful if you can please help. many thanks Lisa
Maryam
Wednesday 3rd of February 2021
Hi Kat
Any ideas if one can get another free appointment if I cancelled the first or would it have to be a paid one? Thanks